
It is now Day 8 of the Tour de Fleece and a lot of spinning has happened at Chez Sheepspace.
First, I started with some Southern Cross Fibres BFL in the ‘Spring Forward’ colourway:
Day 1:
Day 2:
Day 3:
Finished Yarn:

1015m of laceweight singles spun on my Louet Victoria on the smallest whorl (14:1, I believe), 111g.
I then turned to some very pink Falkland from Spinning a Yarn:
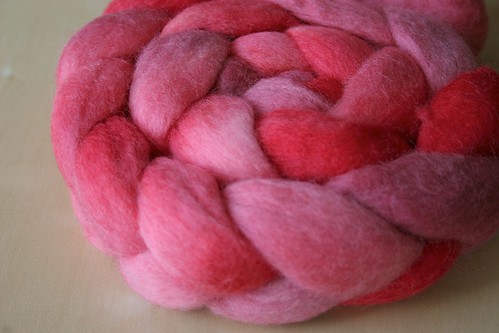
Day 4:
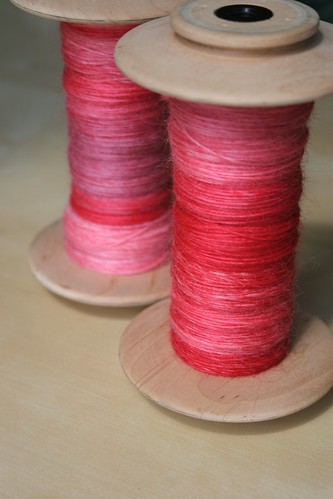
And the finished yarn:
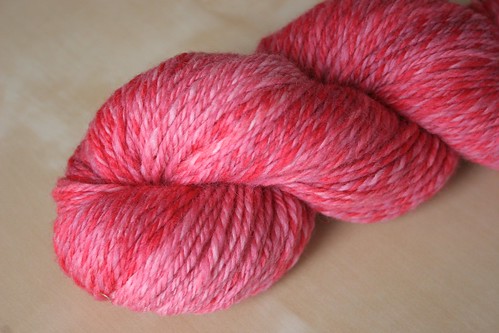
155m of aran weight 3ply, spun on my Kromski Symphony at 10:1.
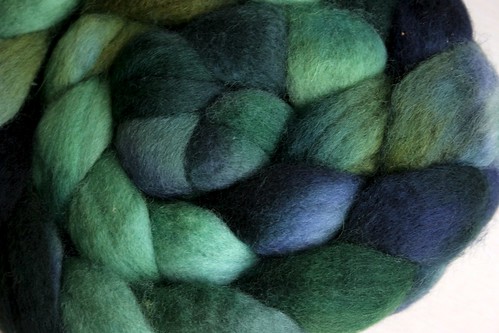
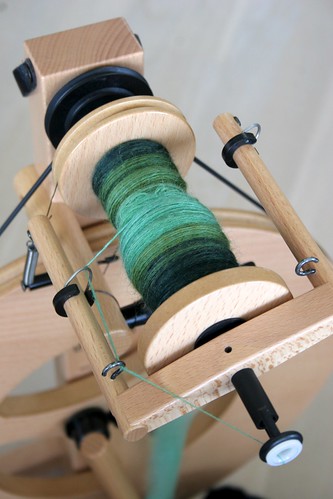
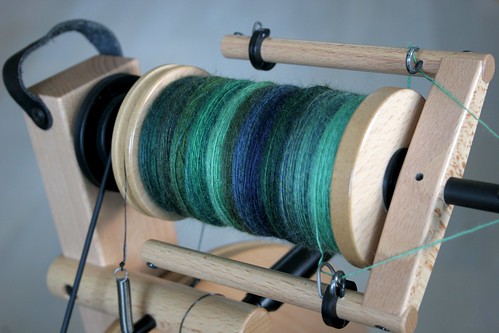
Enjoying my time with my Symphony, I started 200g of Sheltand in ‘Last of the Sunflowers’ (Wildcraft club fibre; Nov 2011).
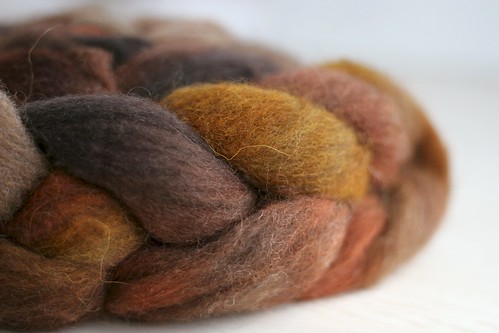
Day 7:
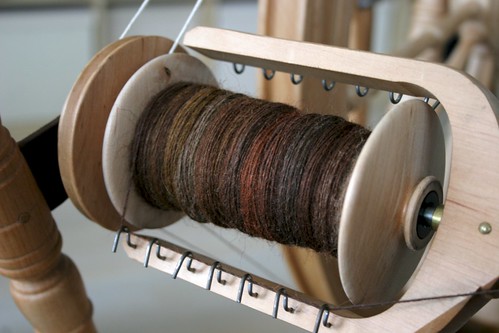
This is destined for a handspun yoke cardi for my husband and he’s delighted it is in progress. I’m on the second bobbin of 3 now, and I’ll likely have it finished by the time he returns from Holland next week.
I also started the week off with a long-term WIP that I’m determined to finished during the Tour. My goal has been to spin a minimum of 15 minutes a day on the spindle, and most days it is closer to 30 minutes. Thankfully, my daughter is a slow eater and provides amble spindling opportunity. This, again, is 50/50 BFL/silk in ‘Autumn Leaves’ from Wildcraft:
I started with 32g remaining (and being spun on my 18g Walnut Wildcraft spindle that my husband bought me for our 5th anniversary):
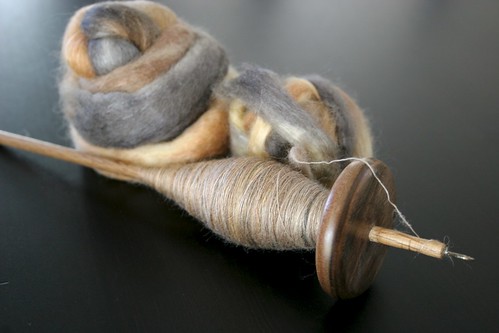
By Day 4 I had finished the third spindle’s worth of fibre:
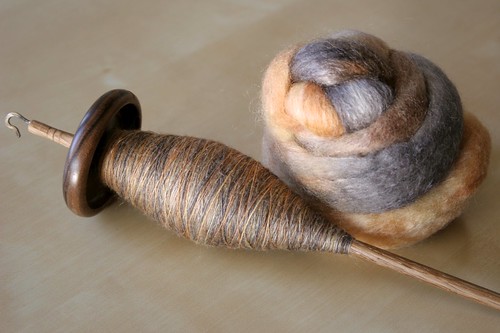
On Day 5 I started the filling the final spindle (18g maple leaf resin spindle, also Wildcraft):
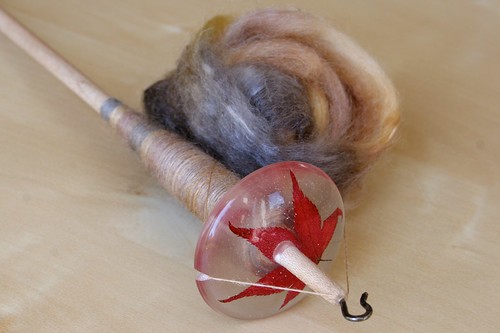
Day 8:
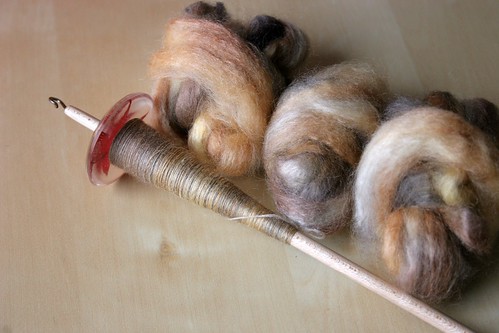
I am a quarter of the way through the final spindle, and have 18g left to spin (each of those little bumps is 6g), which means if I continue spinning this daily it should be done and plied by the end of the Tour.
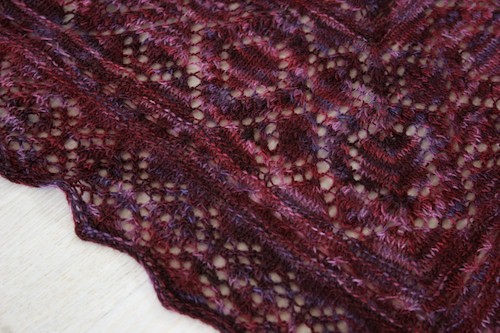
It is Tour de Fleece time, which means less knitting is getting done right now. I have, however, been making good progress on my Multnomah shawl. Unfortunately, my needles are too short to actually show you the progress, so here is a look at the border:
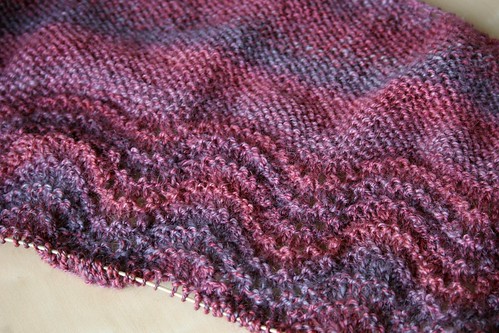
I’ll be knitting until I basically run out of yarn, and I have 39g (of 200ish) left. I had two skein of this handspun, so I knit the garter section until I nearly finished the skein and had a repeat of 32 stitches plus the border/centre stitches before starting the feather and fan section.
The rows are long now, but I’m really hoping that I’ll be blocking this shawl in the coming week, fingers crossed.
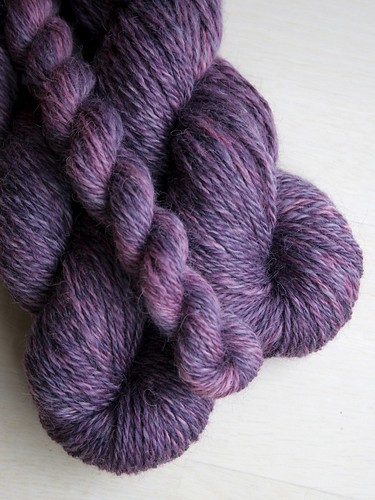
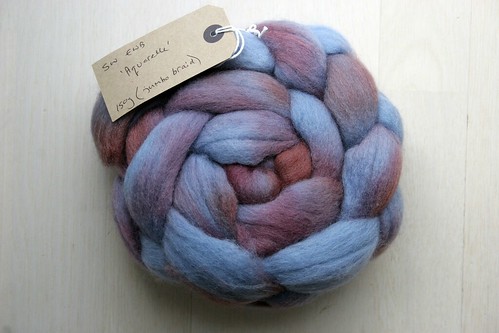
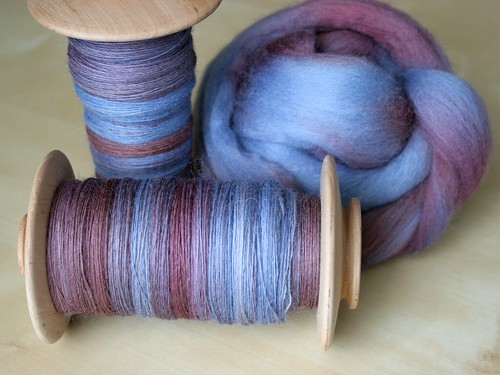
I’ve finished up the Aquarelle English Wool Blend that I recently got from Wildcraft. I’m really pleased with the results.
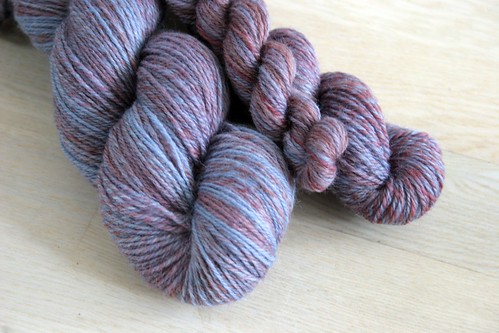
This is a traditional three ply, 152g, 450m, heavy fingering. I am SO looking forward to knitting this. I’ll be starting with the big skein and working towards the mid-sized skein. Unfortunately, my bobbins won’t hold a full 150g. The mini skein is the leftover that I navajo plied… and it there in case I fall short on yarn, which I shouldn’t.
Today also marks the first day of Tour de Fleece. It’s not to late to join, so head over if you are up to doing a bit of spinning. I’ll be playing on Team Fibre Puffin (aka the Woollies), and Team Knitabulls.
With the tour in full swing, I should have lots of photos next Saturday… even if many of them are in progress. I’m going to pull fibre as needed, but my plan is to put this BFL (from Southern Cross Fibre) on my Louet Victoria and spin it as a single:
And make progress on my laceweight that I’m spindling:
I still have 32g of that fibre left to spin as of this morning.
It has been a week of finishing up WIPs.
First on the blocking board was my Icelandic yoke cardi:
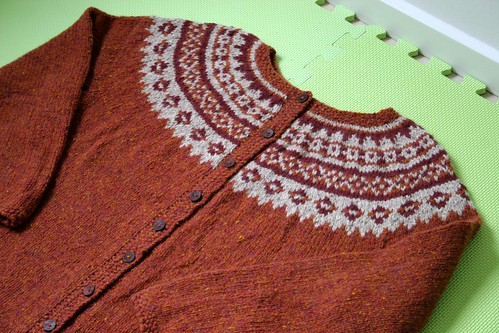
I took this off the mat this evening and I love how it turned out, and it fits wonderfully. Hoping to get some glamour shots soon… though the temps are on their way up at the moment, so I don’t know how feasible that is.
Pattern: Létt-lopapeysa með stuttum munsturbekk og hettu
Yarn: Rowan Scottish Tweed
Needles: 4 and 4.5mm
Mods: Added a few extra waist decreases/increases, and increased the number of steek stitches to 6.
Next onto the blocking board will be my daughter’s Tomten:
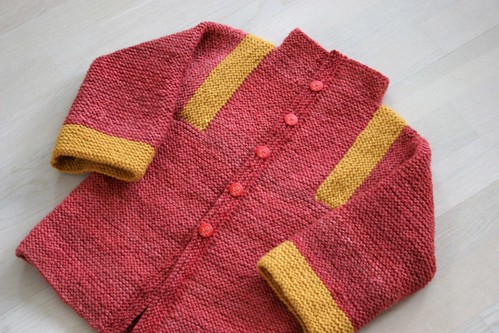
It fits, though I wil try to increase the width ever so slightly during the blocking process. The length is great. And I finished with a grand total of 12” of red yarn left over. I only did four garter ridges for the button band as a result… I would have preferred six.
Pattern: Tomten by Elizabeth Zimmermann
Yarn: Red is handspun 3ply Shetland that I custom ordered from Wildcraft. Yellow is Hifa 2, held doubled.
Needles: 4.5mm
Mods: adjusted the stitch count for sizing. Actually, I mostly just did the pattern by memory. I think this is my 5 or 6th Tomten in the last five years.
On the sock blockers is a pair of socks for Joey:

The yarn is from Friday Studios and on Friday, when it arrived, it looked like this:
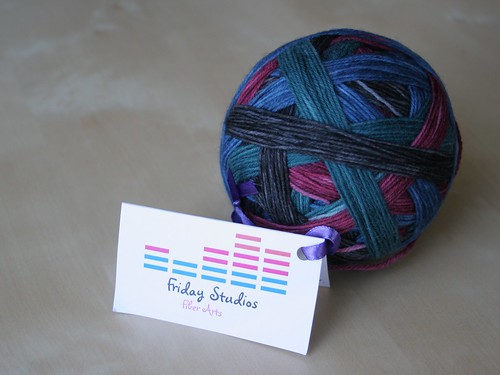
I cast on Friday night, but was so sick I didn’t get past the cast on. I started in earnest on Saturday and I only put them down long enough to finish the two cardis. The socks were finished Tuesday. I love self striping sock yarn. It makes me happy. The legs are extra long, about 9.5” from the top of the cuff to the top of the heel flap, and are a size 39. I still have 25g left over.
Pattern: My basic 64 stitch sock pattern
Yarn: Friday Studios self striping
Needles 2.25mm
Which means I have something not on the blocking boards. My Multnomah:
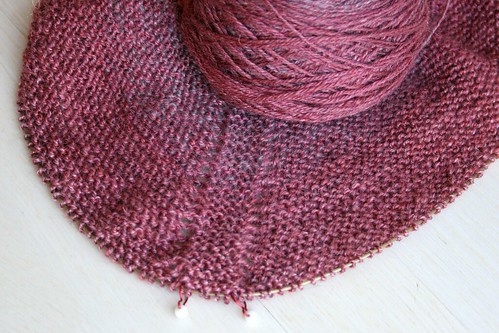
I’m using some handspun.
This is a club colourway from Wildcraft from March 2011. It is called Dorset Heath and is BFL and sparkly nylon, spun as a fingering weight 3ply.
I wonder how long it’ll be until this shawl joins the blocking party.
One of the most common things I hear on scrapbook forums are questions asking about how to deal with with the large amount of travel photos. There are many different answers ranging from mini books to photo album scrapbooks, to single layout overviews of a holiday.
Personally, I enjoy my 8.5×11 inch scrapbook albums. I love making travel pages and I love looking back on them. I love the details, the overviews, and the stories. I don’t, however, make a plan as to how the album will be laid out. I tried that and I know it is not a process that works for me. Instead, I sort my photos by city, then subdivide that by site. From then, I scrapbook whatever calls to me.
Sometimes I’m perfectly happy to do a single or double page layout and create something totally unique. These are usually the layouts that get done first. Other times, I find myself with a mish-mash of photos that simply don’t work well design-wise. That’s when I turn to collages for my second page of a two page spread.
The idea is simple. I pull my feature photo(s) for the first page and work it like a single page layout. All the other remaining photos get cropped into a collage on the second page, in the same orientation as the first.
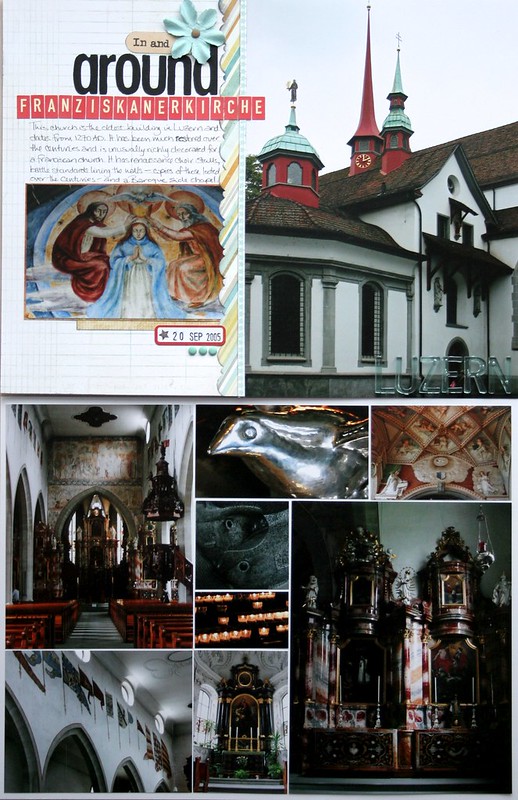
If I don’t have enough photos to fill an entire page, I can simply add in extra pattern paper or other decorative embellishment.
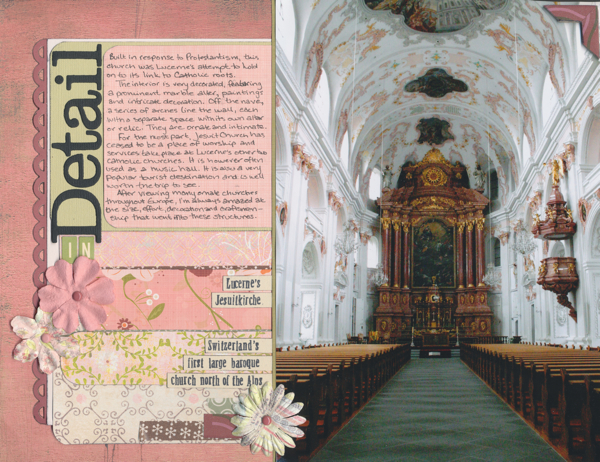
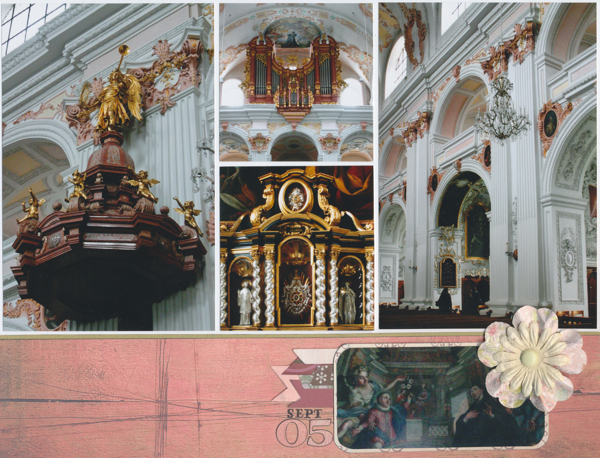
It is simple, easy, and effective. This scheme allows you to use many photos while still having fun with product and design. And more importantly, helps gets some of those harder to do layouts done and dusted.
I posted last week that I was spinning up some Devon longwool from one of last year’s Wildcraft fibre club installments.
Here is the finished yarn:
That a 3ply DK weight yarn totalling 290m and weighing 241g. The two larger skeins are a traditional 3ply, whilst that wee little skein is the leftover singles that I navajo plied.
I’m actually rather surprised at how well the Devon longwool n-plied. I thought I’d end up with rope, but it is just as lovely as the traditional 3ply. This has given me a lot of hope for the Wensleydale braid I bought off the Wensleydale Longwool shop a few years ago. It is a dyed braid and I was really hoping to keep the colours intact as I have visions of stripey Wensleydale socks. After this little experiment I’m going to try navajo (chain) plying the Wensleydale. Why not? The worst thing that happens is that it doesn’t work.
I appear to be on a slight sock spinning kick as I started a new braid of fibre this week.
This just came in the post last week and it jumped on the wheel paying absolutely no mind to the other fibre in queue. And I’m loving it.
This is 150g of a superwash English Wool Blend (from Wildcraft). I love this blend. It is hard-wearing, fabulous for socks (those I’ve spun thus far are holding up really well), and it is so easy to spin. I’m really happy Karen is doing the 150g braids now as I always found myself running short on yardage with only 100g. One of the pairs of socks I made for Joey ended with 2” of yarn left over after kitchenering the toes… and he doesn’t have large feet.
I’m planning to finish this up this week as I only have one bobbin left to spin. That and the Tour de Fleece starts on June 30th and I’d like to have my wheels free and clear to start the Tour with a clean slate. :)
I haven’t quite decided on what I’m spinning during the Tour, however I have some BFL and some Polwarth off of Southern Cross Fibres that I’d lovely to play with, as well as my November 2011 Wildcraft club fibre that I keep promising my husband I’ll spin so we can buy the coordinating millspun for his cardi/jumper. Not to mention that Wensleydale, which I’m now quite excited to try out, the Merino/Bamboo I got for my birthday, and the fact that my July club parcel should be arriving during the Tour. So many options, so little spinning time.
I have several Finished Objects to share with you today.
First up are a couple of washcloths.
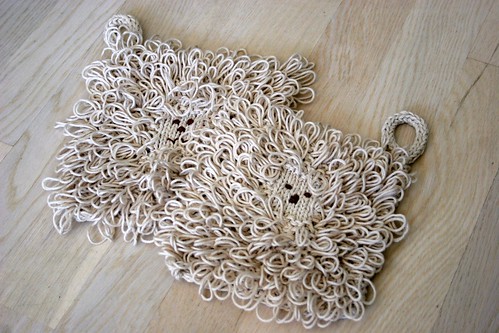
The pattern is Grrr available through knitty.com which I knit out of some Freedom Sincere Cotton DK that I had leftover from a hat I made for my daughter when she was a baby. I had just shy of 2 balls and managed to get just shy of 2 washcloths. I used the recommended needle size of 4.5mm on the first one, and after weighing the finished cloth quickly realised I didn’t have quite enough for a second. Determined, I started a second on 4mm needles, only to have to cast off a couple of rows short. It is still cute. I actually like the fabric of the second cloth better, though with washing the larger one will shrink up a bit.
The Grrr pattern is wonderful. I made several of them whilst I was pregnant with my daughter, and they are still going strong. Both kids have loved them, though I think my husband loves them even more.
These washcloths will be heading off to some parents-to-be.
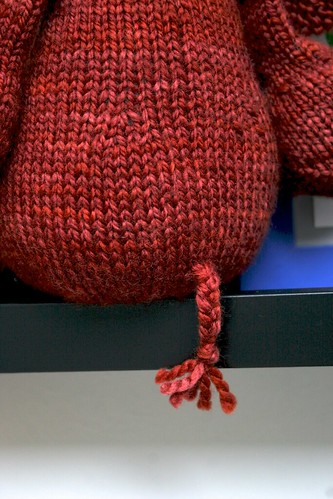
I also finished an Elephant.
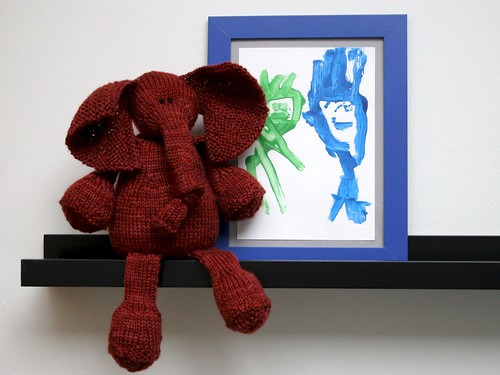
The pattern is called E is for Elephant which is available for purchase through Ravelry. I used some Wildcraft Truro Aran in the Claret colourway. Love this yarn. I made some Stackable Cats out of this yarn last year as a Christmas present for my son and they are holding up fabulously to his constant chewing. (Isn’t that the true test of a toy yarn?)
I didn’t think I’d have it done today, as I only finished the last piece this morning. However, luck struck and both my sick kids decided to take naps at the same time.
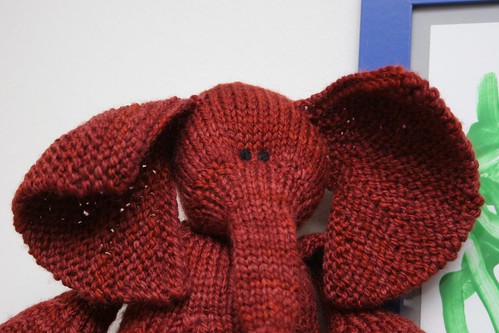
I think this elephant is adorable. The pattern gives explicit instructions as to how to place and sculpt the eyes, as well as tips on how to centre the body. The ears are knit in garter using short rows.
The arms and legs feature texture for the toes.
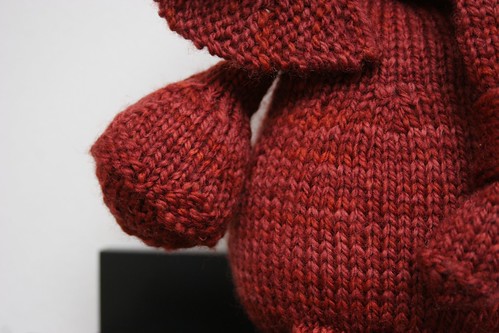
And she has a cute little tail, too.
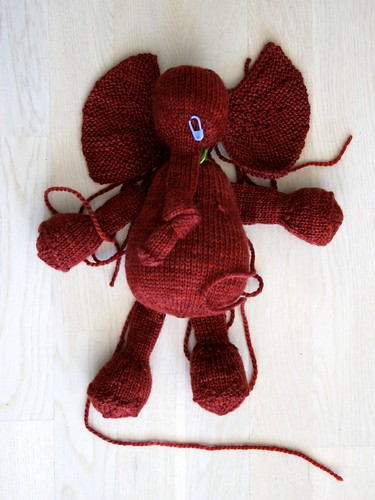
The pattern gives line by line instructions that are very clear. If you plan to have this as a piece that simply sits on the shelf, I might suggest adding in a bottom weight to the body (a bag of plastic pellets is ideal), and when seaming together, make sure the toes are facing the correct way (not that I had to unpick an arm I sewed on backwards… that was just a rumour someone started). There are also instructions on how to make tusks, if you want a male elephant.
I’m really happy with the final results, and highly recommend the pattern. As a bonus, the designer donates $4 to Wildlife SOS. I hope the new owner likes it as much.
One of my favourite ways of using up older papers in my stash is to use them as backgrounds. Any style of paper will work, whether it be bright or bold or subtle. In this case, I took some SEI paper from their ‘Such a Boy’ line circa 2005 and used it for the background of this layout:
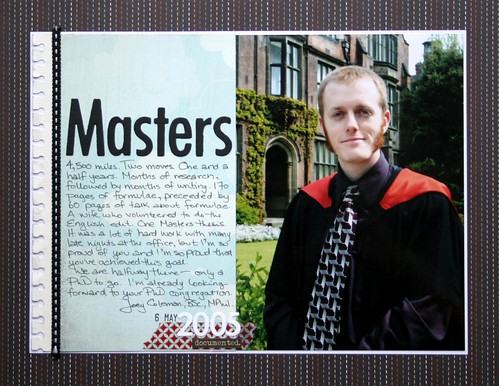
Everything else on the layout (other than the die cuts letters and date stamp) is new from 2012 purchases, and they bring everything up to date in terms of my current style whilst still using up some of that older paper that ‘must be useful for something’. The journalling was written in 2005, shortly after the Masters ceremony.
I’m particularly liking the sheet of ‘Word to Live By’ from Simple Stories which is part of their Documented collection. I’ve been cutting out individual words and phrases and adding them into my layouts. I love the effect.
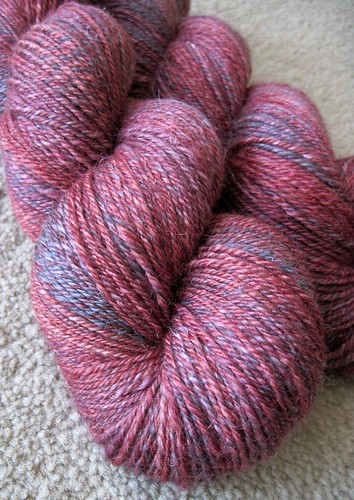
As promised, the finished Primrose yarn (March 2012 Wildcraft fibre club):
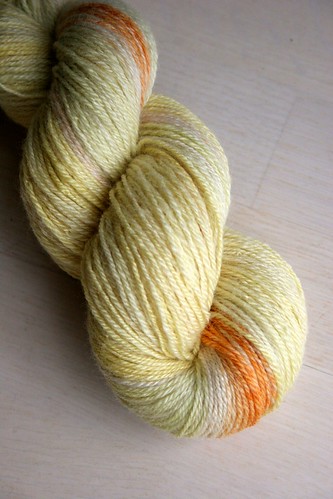
This is a BFL/silk blend. I always forget how lovely this blend is when it becomes yarn. Soft, smooth, and a beautiful drape and sheen. Just wonderful, and totally worth spinning. This is a heavy fingering/sport weight chain plied yarn that is a gradient, with a total of 285m.
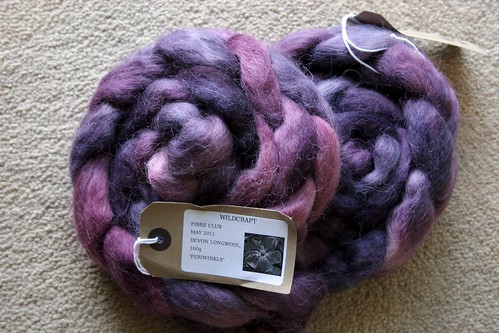
On the wheel is my Periwinkle fibre (May 2011 Wildcraft fibre club):
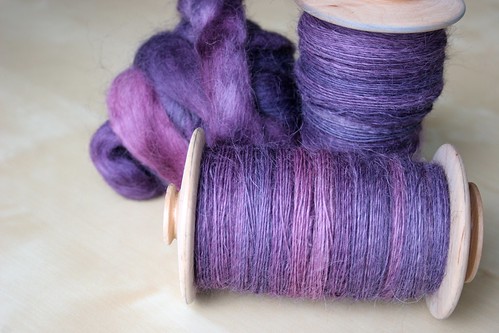
I took this photo earlier today then may have accidentally spun up the entire third bobbin this afternoon. Just sayin’. I plan to ply this up in the next couple days and am looking forward to seeing the results of how the Devon Longwool does in a 3ply.
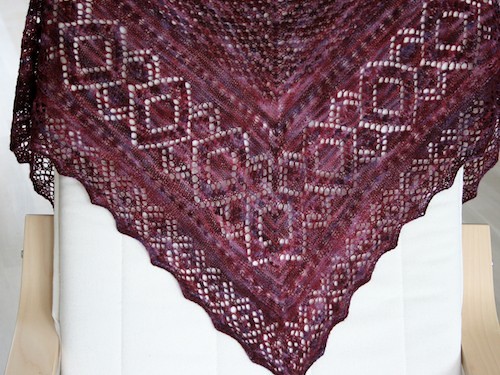
The Miralda’s shawl I’ve been working on flew off the needles over the weekend. Now if I could only teach my knits to throw themselves onto the blocking board.
I’m quite pleased with how the shawl turned out. Mostly.
The Malabrigo lace is wonderfully soft and it will make an excellent next to skin item, however I did notice that the yarn tails from the double stranded cast-on seem to have felted together slightly by the time I went to weave them in. Nothing else in the shawl seem to have this issue, so I assume it just has to do with the tails since the knitting seems perfectly fine, however you definitely don’t want to overwork this yarn.
I also found that the centre neck area of the shawl didn’t block out overly well. It has a slight point to it that developed over the course of the day after I took the shawl off the blocking mat. When I first took out the blocking wires it was fine, but it now has a definitely point, and a slight (and I do mean slight) kite shape to it. This will in no way effect the appearance when worn since I wear my shawls as scarves, but it is something I noticed. It may simply be a fluke since it is a slightly damp day here and wool does like to suck up the moisture, however it is something I noticed even when it was fresh off the needles. I’ve not had a problem with top-down shawls doing this before, so it may have something to do with the method of construction. Or it might just be the weather. I have a feeling it is a little bit of both.
Modeled by our willing Poang chair:
Even with those things said, I’m looking forward to wearing this shawl come winter. I also learned a few new stitch techniques.
Pattern: Miralda’s Triangular shawl (Knitted Lace of Estonia; Interweave Press)
Yarn: Malabrigo Lace (Velvet Grapes colourway)
Needles: 4mm Addi fixed lace needles
Mods: None. (Yes, I’m shocked, too.)